1. Logging in and creating a case
Follow these simple steps to log in and set up a case in your Case Portal
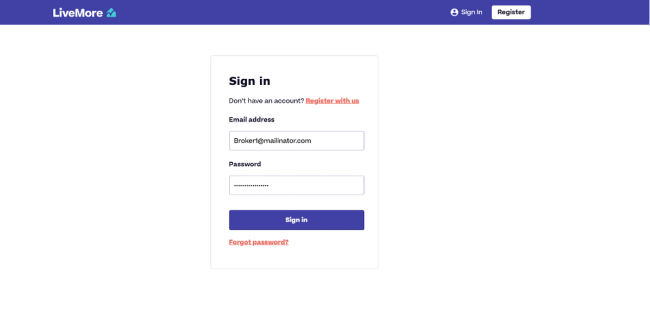
Enter your email address and password, then click ‘sign in’.
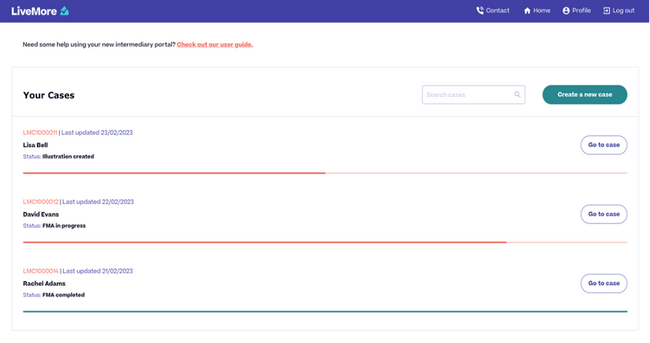
Create and access cases
This page will provide a list of all your live cases. Accessing an existing case will allow you to view the data and documents, and move it on to the next stage, without re-keying anything
You will also have the option to create a new case via the button in the top right corner.
Creating a new case
When you click ‘Create a new case’ you will be asked to confirm a series of statements about your client and the case before you can proceed.
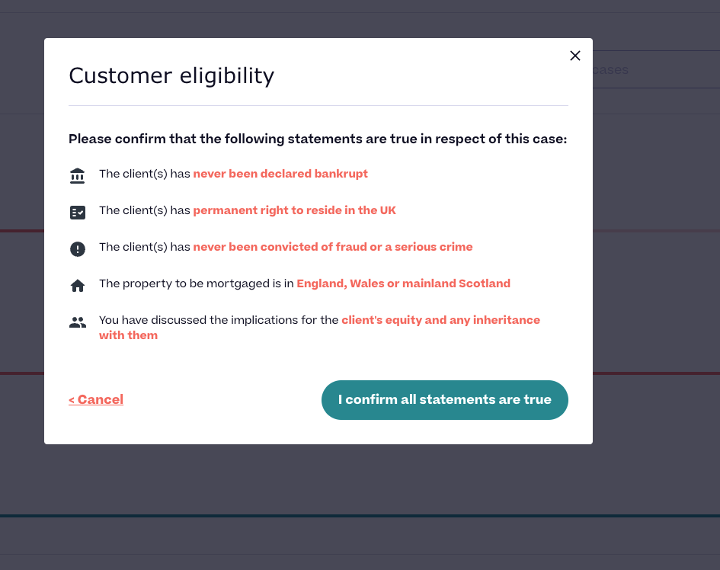
When you’re happy, click ‘I confirm all statements are true’.
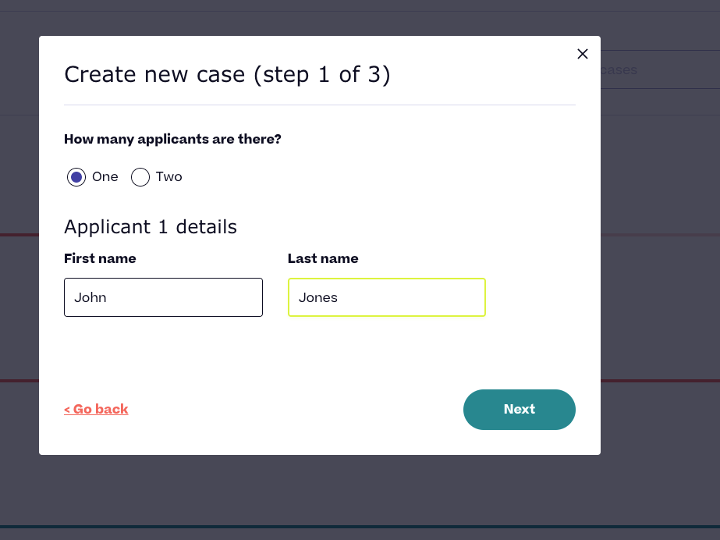
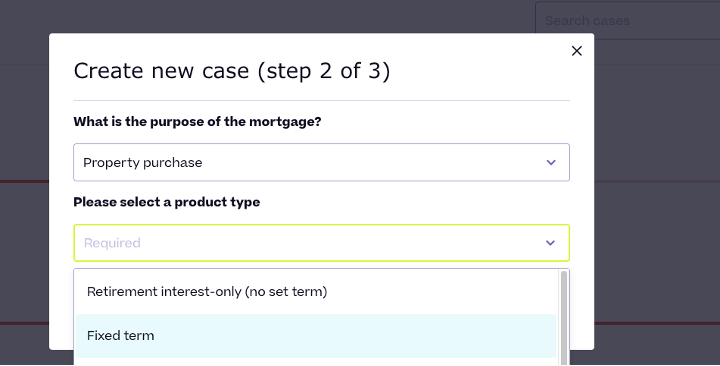
This will take you to a 3-step process to create your new case:
Step 1
Select 1 or 2 applicants, provide first name(s) and surname(s), click next.
Step 2
Tell us the purpose of the mortgage and select a product type (note – if you choose ‘fixed term’ you also need to select if it is interest-only or capital & interest). Click next.
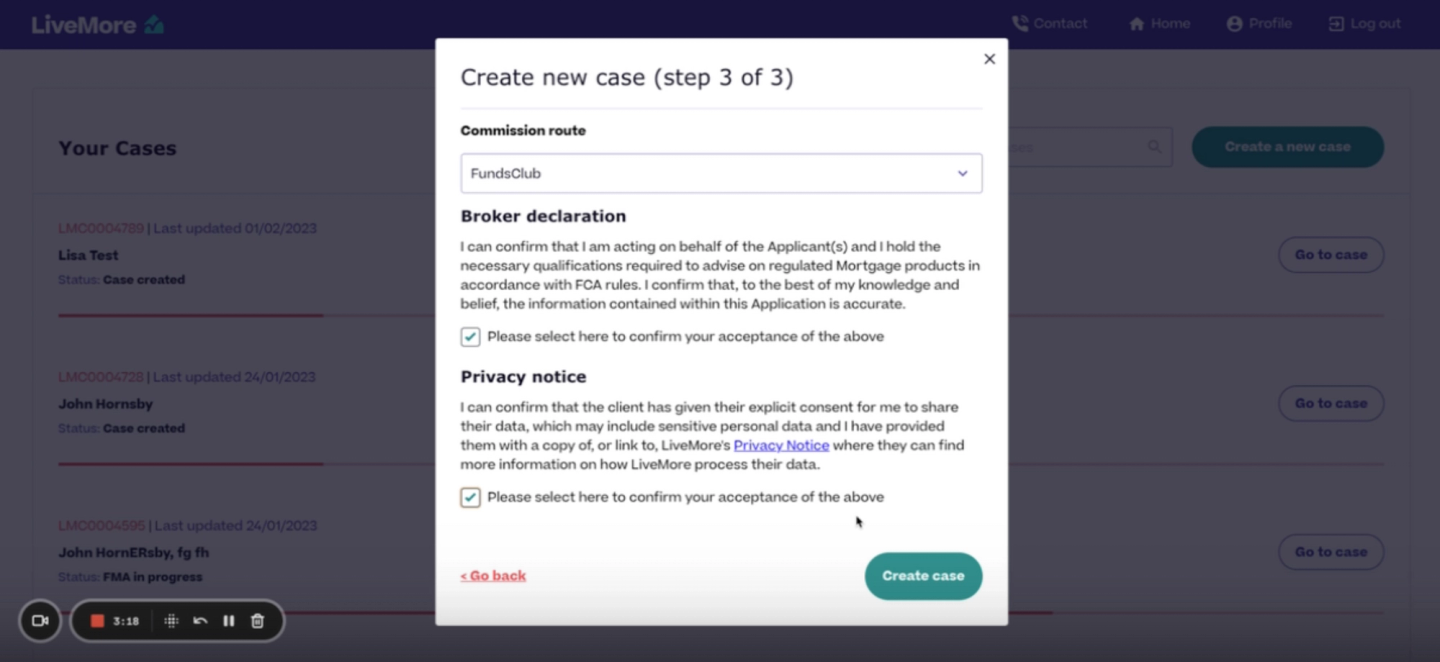
Step 3
Choose your commission route – if you’re appointed as a representative of a network, your network will automatically be assigned as your commission route.
Then you must confirm you accept our broker declaration and privacy notice. You can now click ‘create case’.